


FEATURED
Lorem ipsum dolor sit amet, consectetur adipiscingPHOTOGRAPHY
Lorem ipsum dolor sit amet, consectetur adipiscing
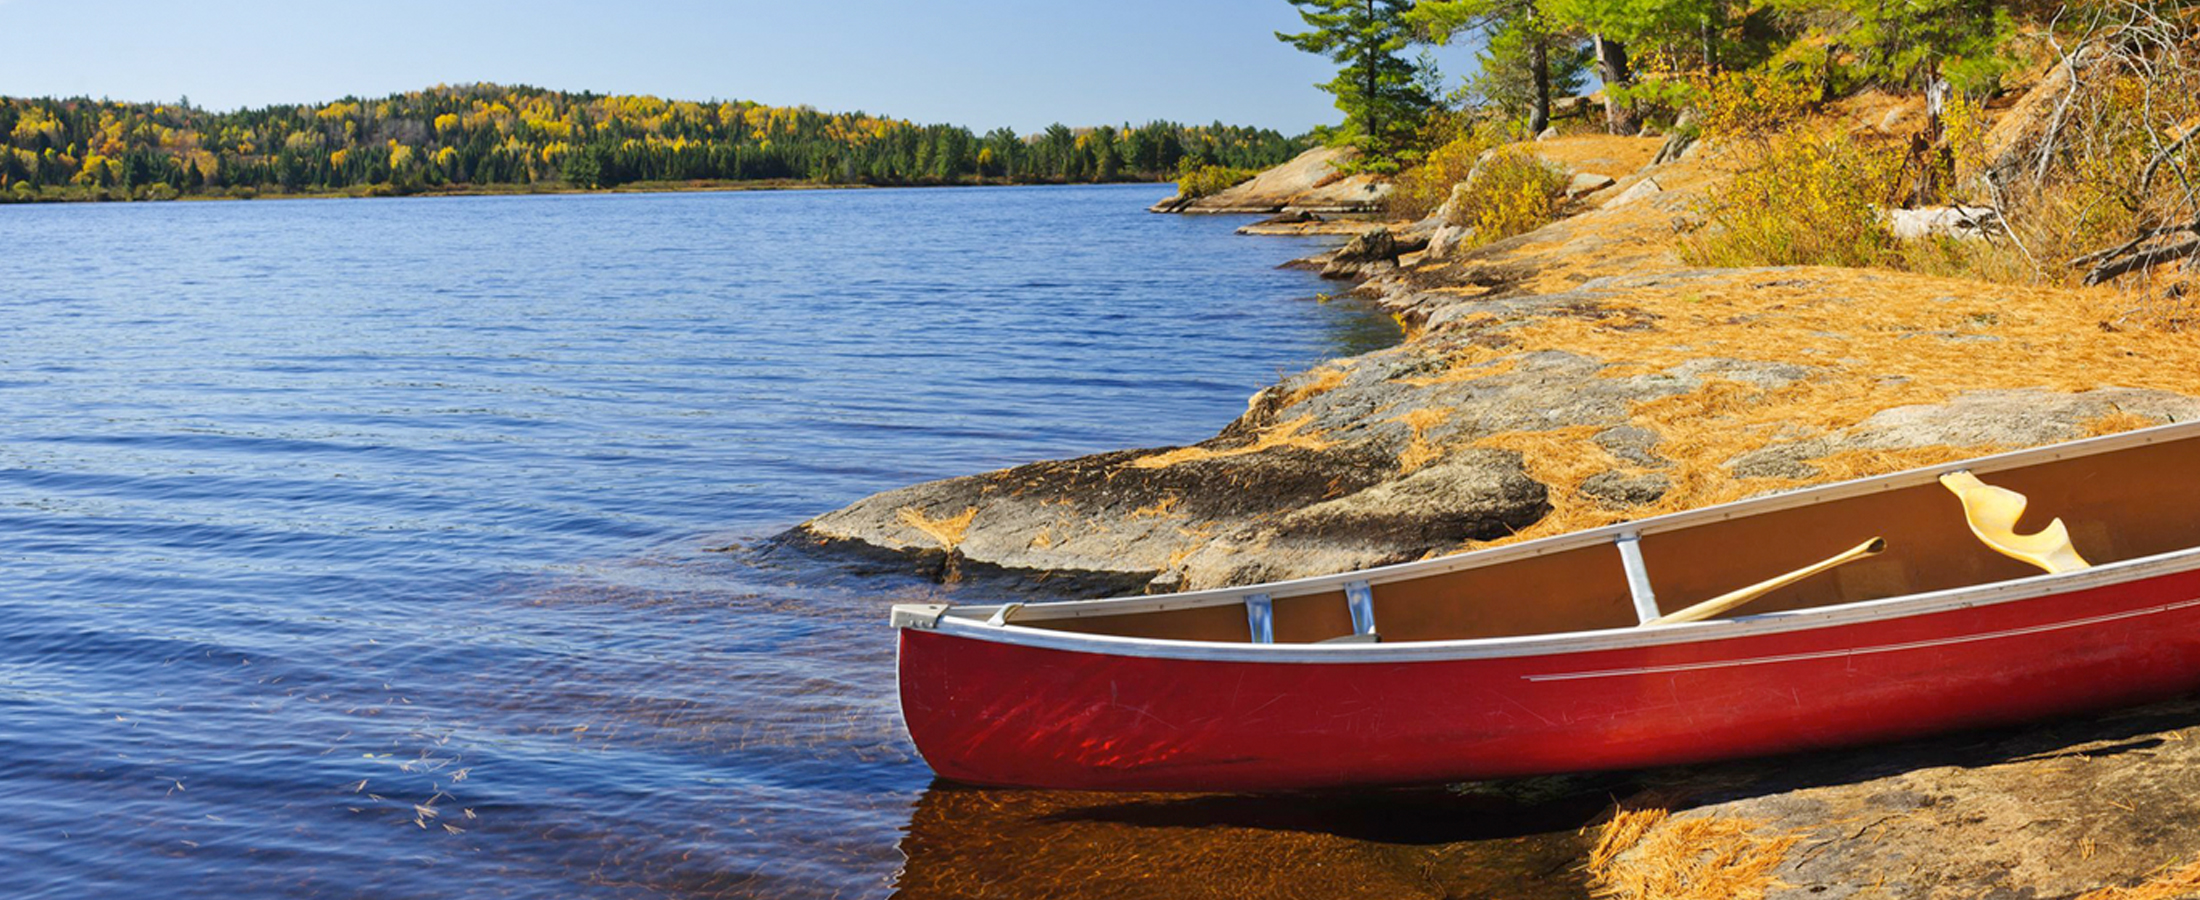
Sunlight and Photography Practices
Lorem ipsum dolor sit amet, consectetur adipiscing elit. Morbi sagittis, sem quis lacinia faucibus, orci ipsum gravida tortor, vel interdum mi sapien ut justo. Nulla varius consequat magna, id...

LIFESTYLE
Lorem ipsum dolor sit amet, consectetur adipiscing
FASHION
Lorem ipsum dolor sit amet, consectetur adipiscing

SPORTS
Lorem ipsum dolor sit amet, consectetur adipiscing-
-
Leaps In Success At Golf Club
- September 17, 2015
- frank
- 1 Comment
Lorem ipsum dolor sit amet, consectetur adipiscing elit. Morbi sagittis, sem quis lacinia faucibus, orci ipsum gravida tortor, vel interdum mi sapien ut justo. Nulla varius consequat magna, id molestie ipsum volutpat quis. Suspendisse consectetur...
-
-
Your Football Team Will Win Title If
- September 17, 2015
- frank
- 1 Comment
Lorem ipsum dolor sit amet, consectetur adipiscing elit. Morbi sagittis, sem quis lacinia faucibus, orci ipsum gravida tortor, vel interdum mi sapien ut justo. Nulla varius consequat magna, id molestie ipsum volutpat quis. Suspendisse consectetur...
-
-
Making Winning A Habit
- September 16, 2015
- frank
- 0 Comment
Lorem ipsum dolor sit amet, consectetur adipiscing elit. Morbi sagittis, sem quis lacinia faucibus, orci ipsum gravida tortor, vel interdum mi sapien ut justo. Nulla varius consequat magna, id molestie ipsum volutpat quis. Suspendisse consectetur...
-
-
See How Easily You Can Qualify
- August 27, 2015
- frank
- 1 Comment
Lorem ipsum dolor sit amet, consectetur adipiscing elit. Morbi sagittis, sem quis lacinia faucibus, orci ipsum gravida tortor, vel interdum mi sapien ut justo. Nulla varius consequat magna, id molestie ipsum volutpat quis. Suspendisse consectetur...
MOST COMMENTED